A2000 ONLINE SUPPORT DEPARTMENT
KNOWLEDGE BASE 
DESCRIPTION This article provides step-by-step instructions on how to configure a REPX file in Web Designer so that the Preview Parameter Panel is displayed when generating a preview.
_________________________________________________________________________________________
1. Download the REPX file you want to configure.
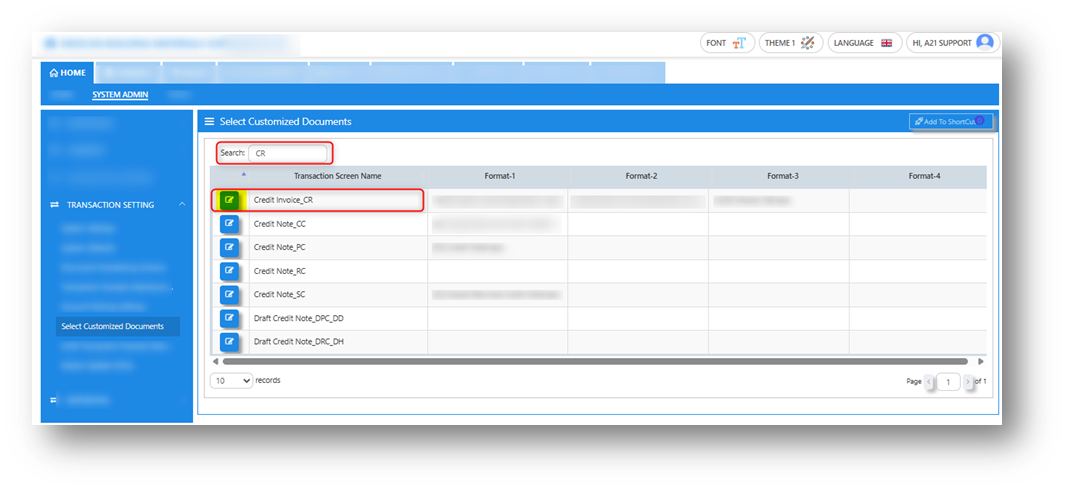
Navigate to HOME -> SYSTEM ADMIN -> Transaction Setting -> Select Customized Documents

2. In the Select Customized Documents screen, use the Search field to filter and locate the REPX file you want to configure, then download it.
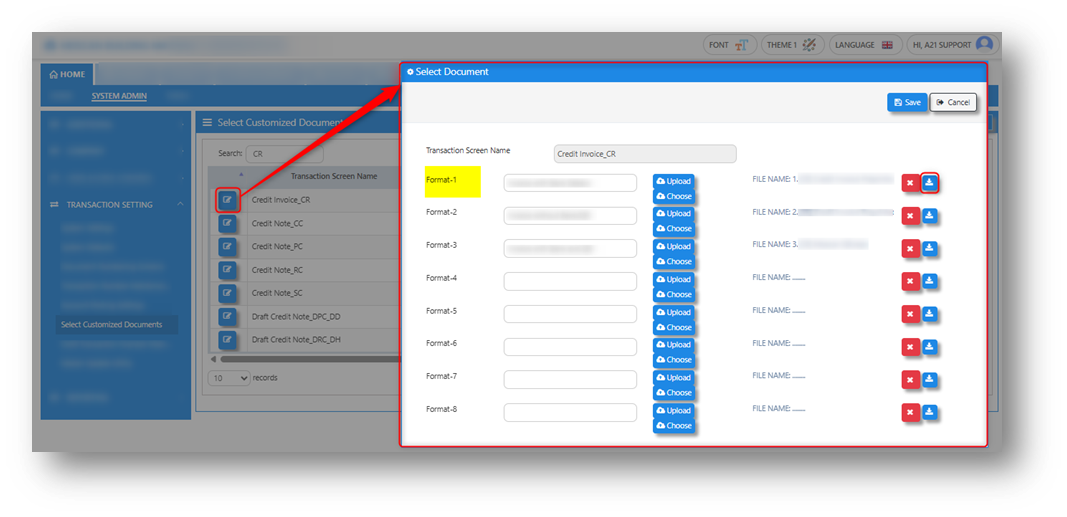
3. Click the Edit button (pencil icon) on the right side of the selected Transaction Screen Name. A new window will open displaying all formats mapped to the selected transaction type. Then, click the Download icon on the right to download the REPX file.
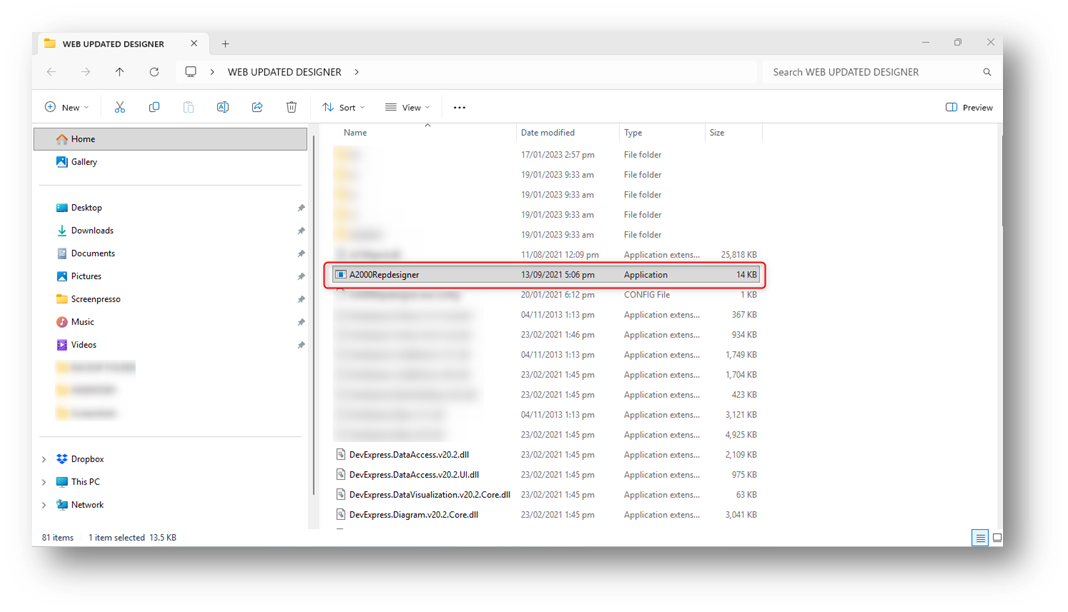
 4. Open Report Designer Tool Application
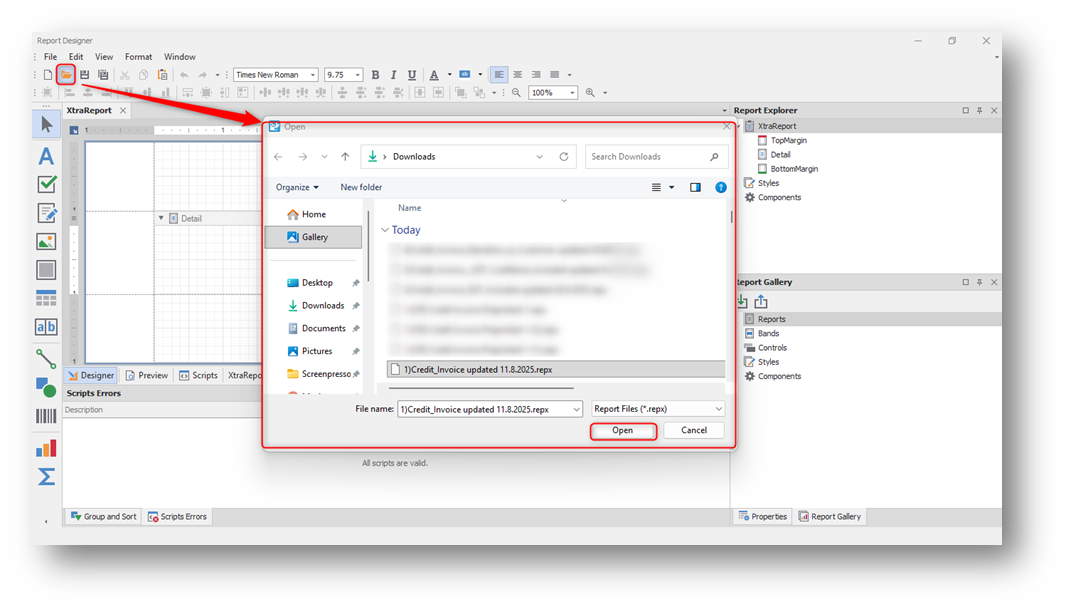
5. Click the folder icon below. A dialog window will appear then browse and select the REPX file you want to edit, then click Open to load the file.
 6. After selecting the REPX file and clicking Open, a confirmation message will appear. Click Yes to load the selected REPX file.
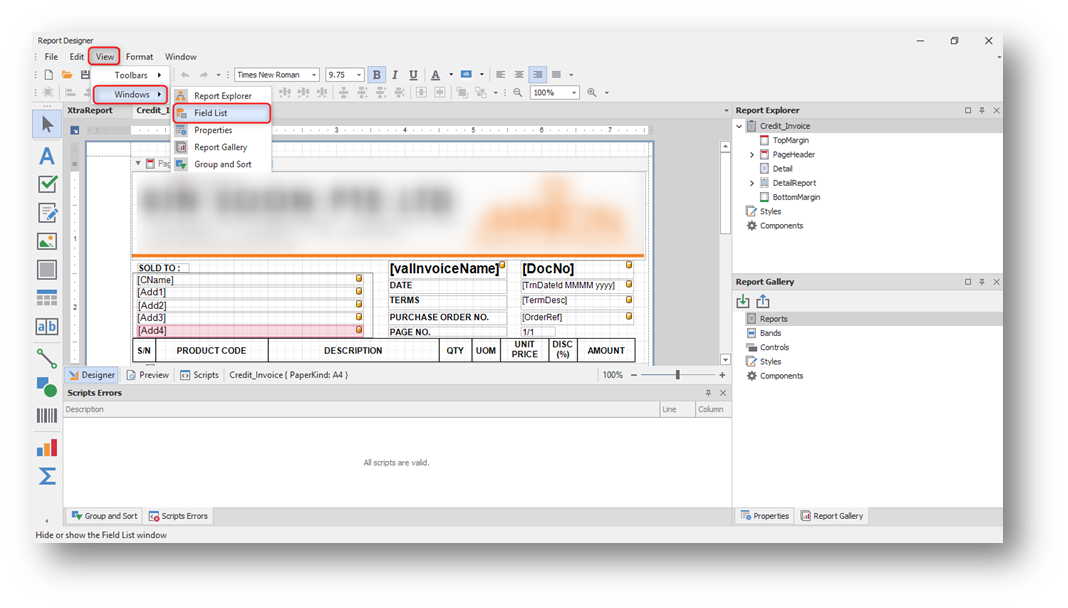
 7. Once the selected REPX file is loaded, begin the configuration by navigating to View → Windows → Field List.
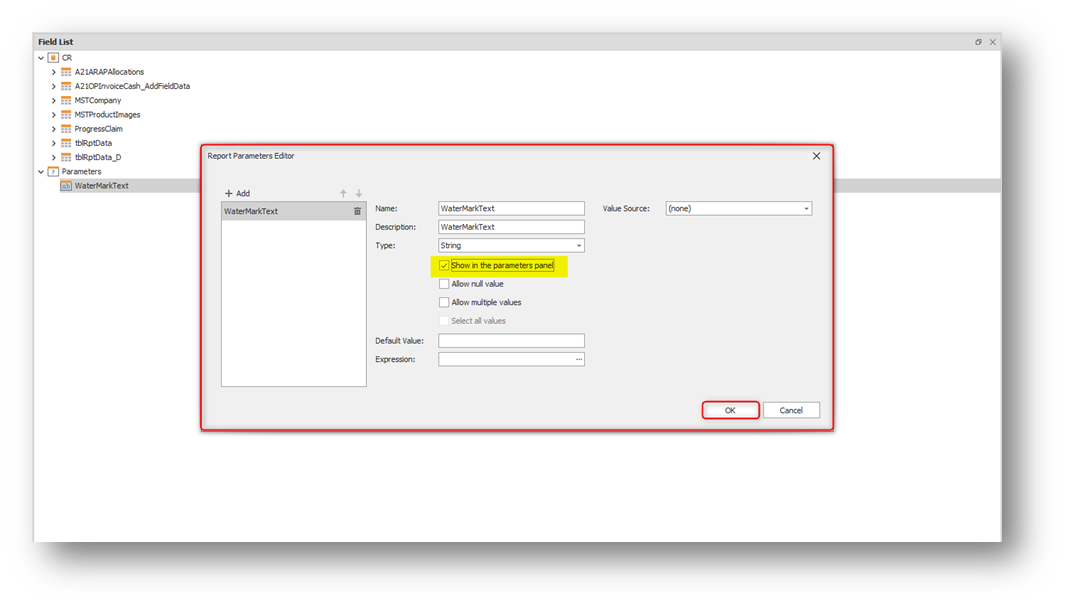
8. Once the Field List is open, expand the Parameters item to display the data member WaterMarkText. Right-click on it to view the available options, then select Edit Parameters.
 9. After selecting Edit Parameters, a dialog window will appear showing the Report Parameters Editor. Tick the checkbox for Show in Parameters Panel, then click OK to save your changes.
10. Close the Field List then click Save icon to save the changes you made to the REPX file

11. After configuring the REPX file, return to Select Customized Documents to map the updated REPX.

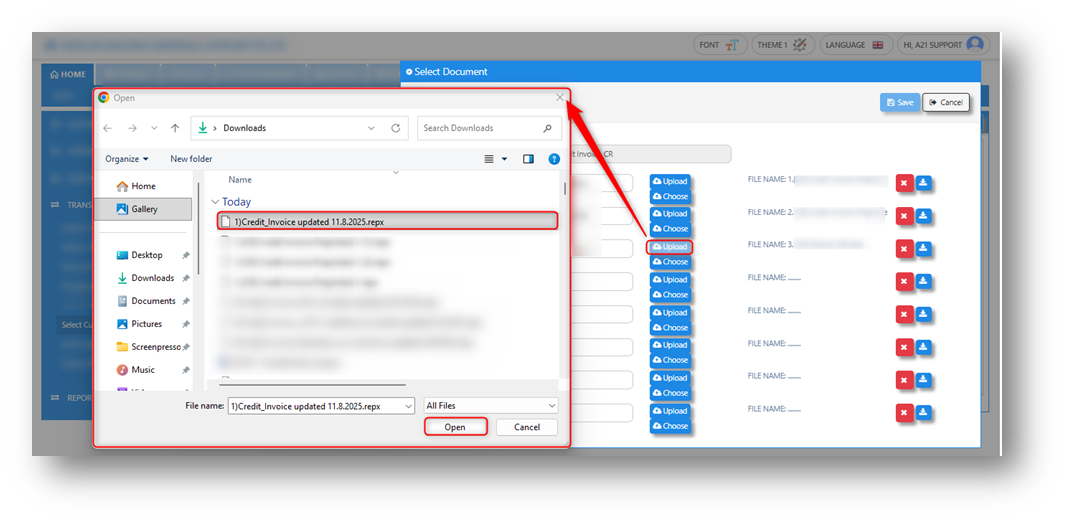
12. Click the Upload button. A dialog window will appear then browse and select the updated REPX file, then click Open to upload it.
13. Once the updated REPX file is uploaded, rename the format based on your preference, then click Save to complete the mapping.

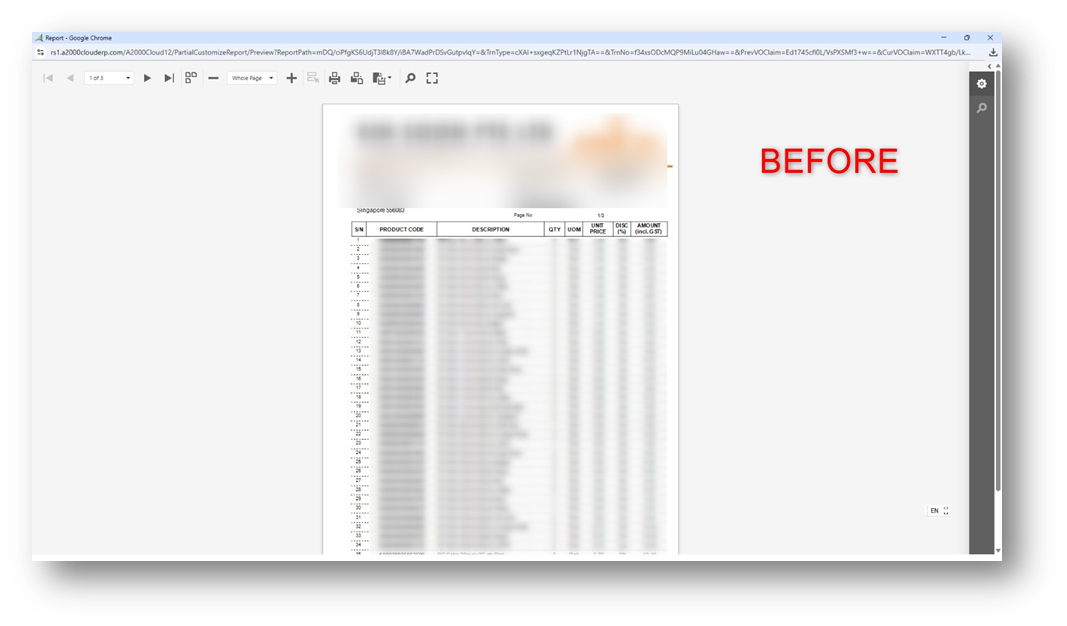
14. To verify if the Preview Parameter Panel is displayed, go to CR TRN and generate the REPX file. Refer to the before and after results shown below.

______________________________________________________________________________________________________________
* END *

Disclaimer: The information provided here is provided on an as-is basis without warranty of any kind, either expressed or implied, including warranties of merchantability and fitness for a particular purpose. In no events shall A2000 Solutions Pte Ltd or its agents, distributors and suppliers (collectively known as A2000) be liable for any damages whatsoever including direct, indirect, incidental, consequential, loss of business profits or special damages, even if A2000 have been advised of the possibility of such damages. The names of actual companies and products mentioned herein may be the trademarks of their respective owners. All third party trademarks are the property of their respective owners.

Was this article helpful?
That’s Great!
Thank you for your feedback
Sorry! We couldn't be helpful
Thank you for your feedback
Feedback sent
We appreciate your effort and will try to fix the article